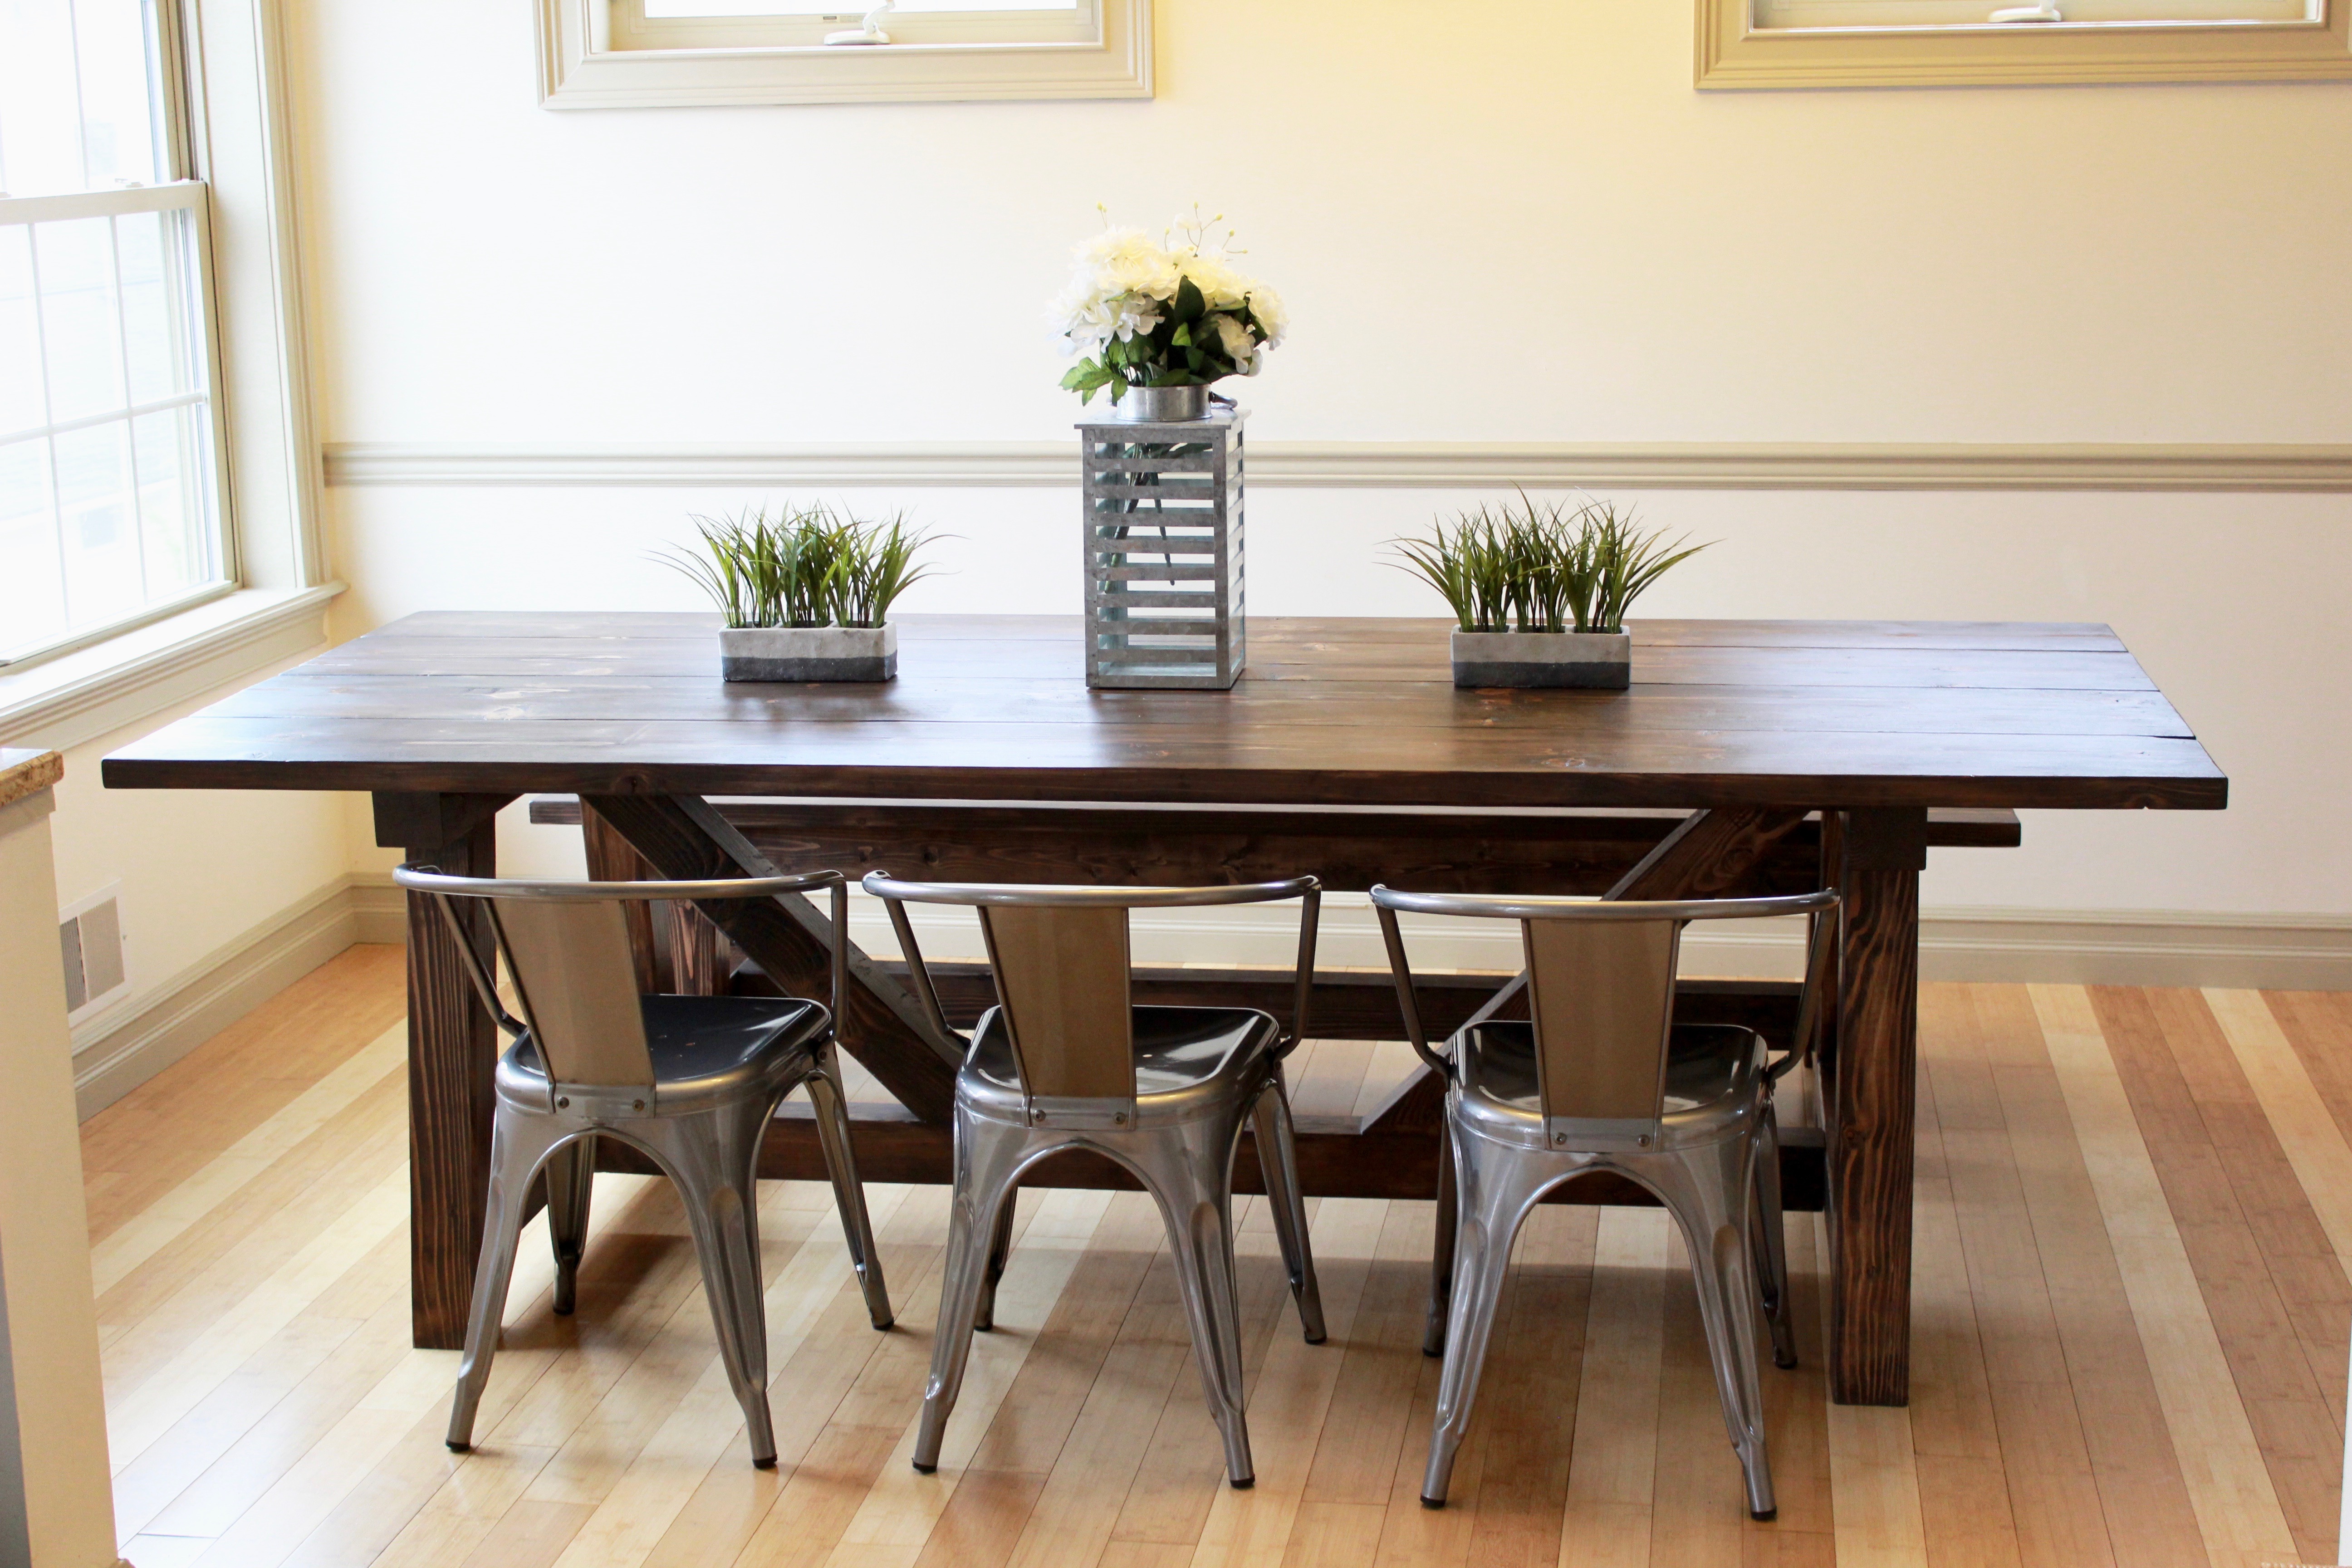
Ta-da! My table is complete and I LOVE it! We got the original plans from Shanty2chic but had to edit them for moving purposes. You can get the shopping list directly from the link I provided.
The difference between our table and Shanty2Chic‘s is the table top; we did not do bread boards at the end. We came up with our own pattern for the table top. Shanty2chic calls for four 2×10, but we bought two 2×10 and two 2×8. We placed the two 2×10 next to each other and then one 2×8 on each side to sandwich the two 2×10 in the middle.
Instead of using screws to keep the support beam and ends together, we bought hex bolts with washers and wood insert nuts to avoid stripping the wood every time we move. Our hex bolts are 4.5 inches. We used four; two on each end.The wood stain on the table is the color Kona by Rust-Oleum.We bought our centerpieces from Home Goods and our flowers from Michaels. Everything at Home Goods is super affordable and they have a great selection of farmhouse decor.
To finish the industrial farmhouse look that we were trying to achieve, we bought metal dining chairs from Target. They were on sale at the time; two for $90.
If you have any questions on how to make the table, please leave your comments and questions below. I am here to help!